Loading...

Injection Molded Snoopy

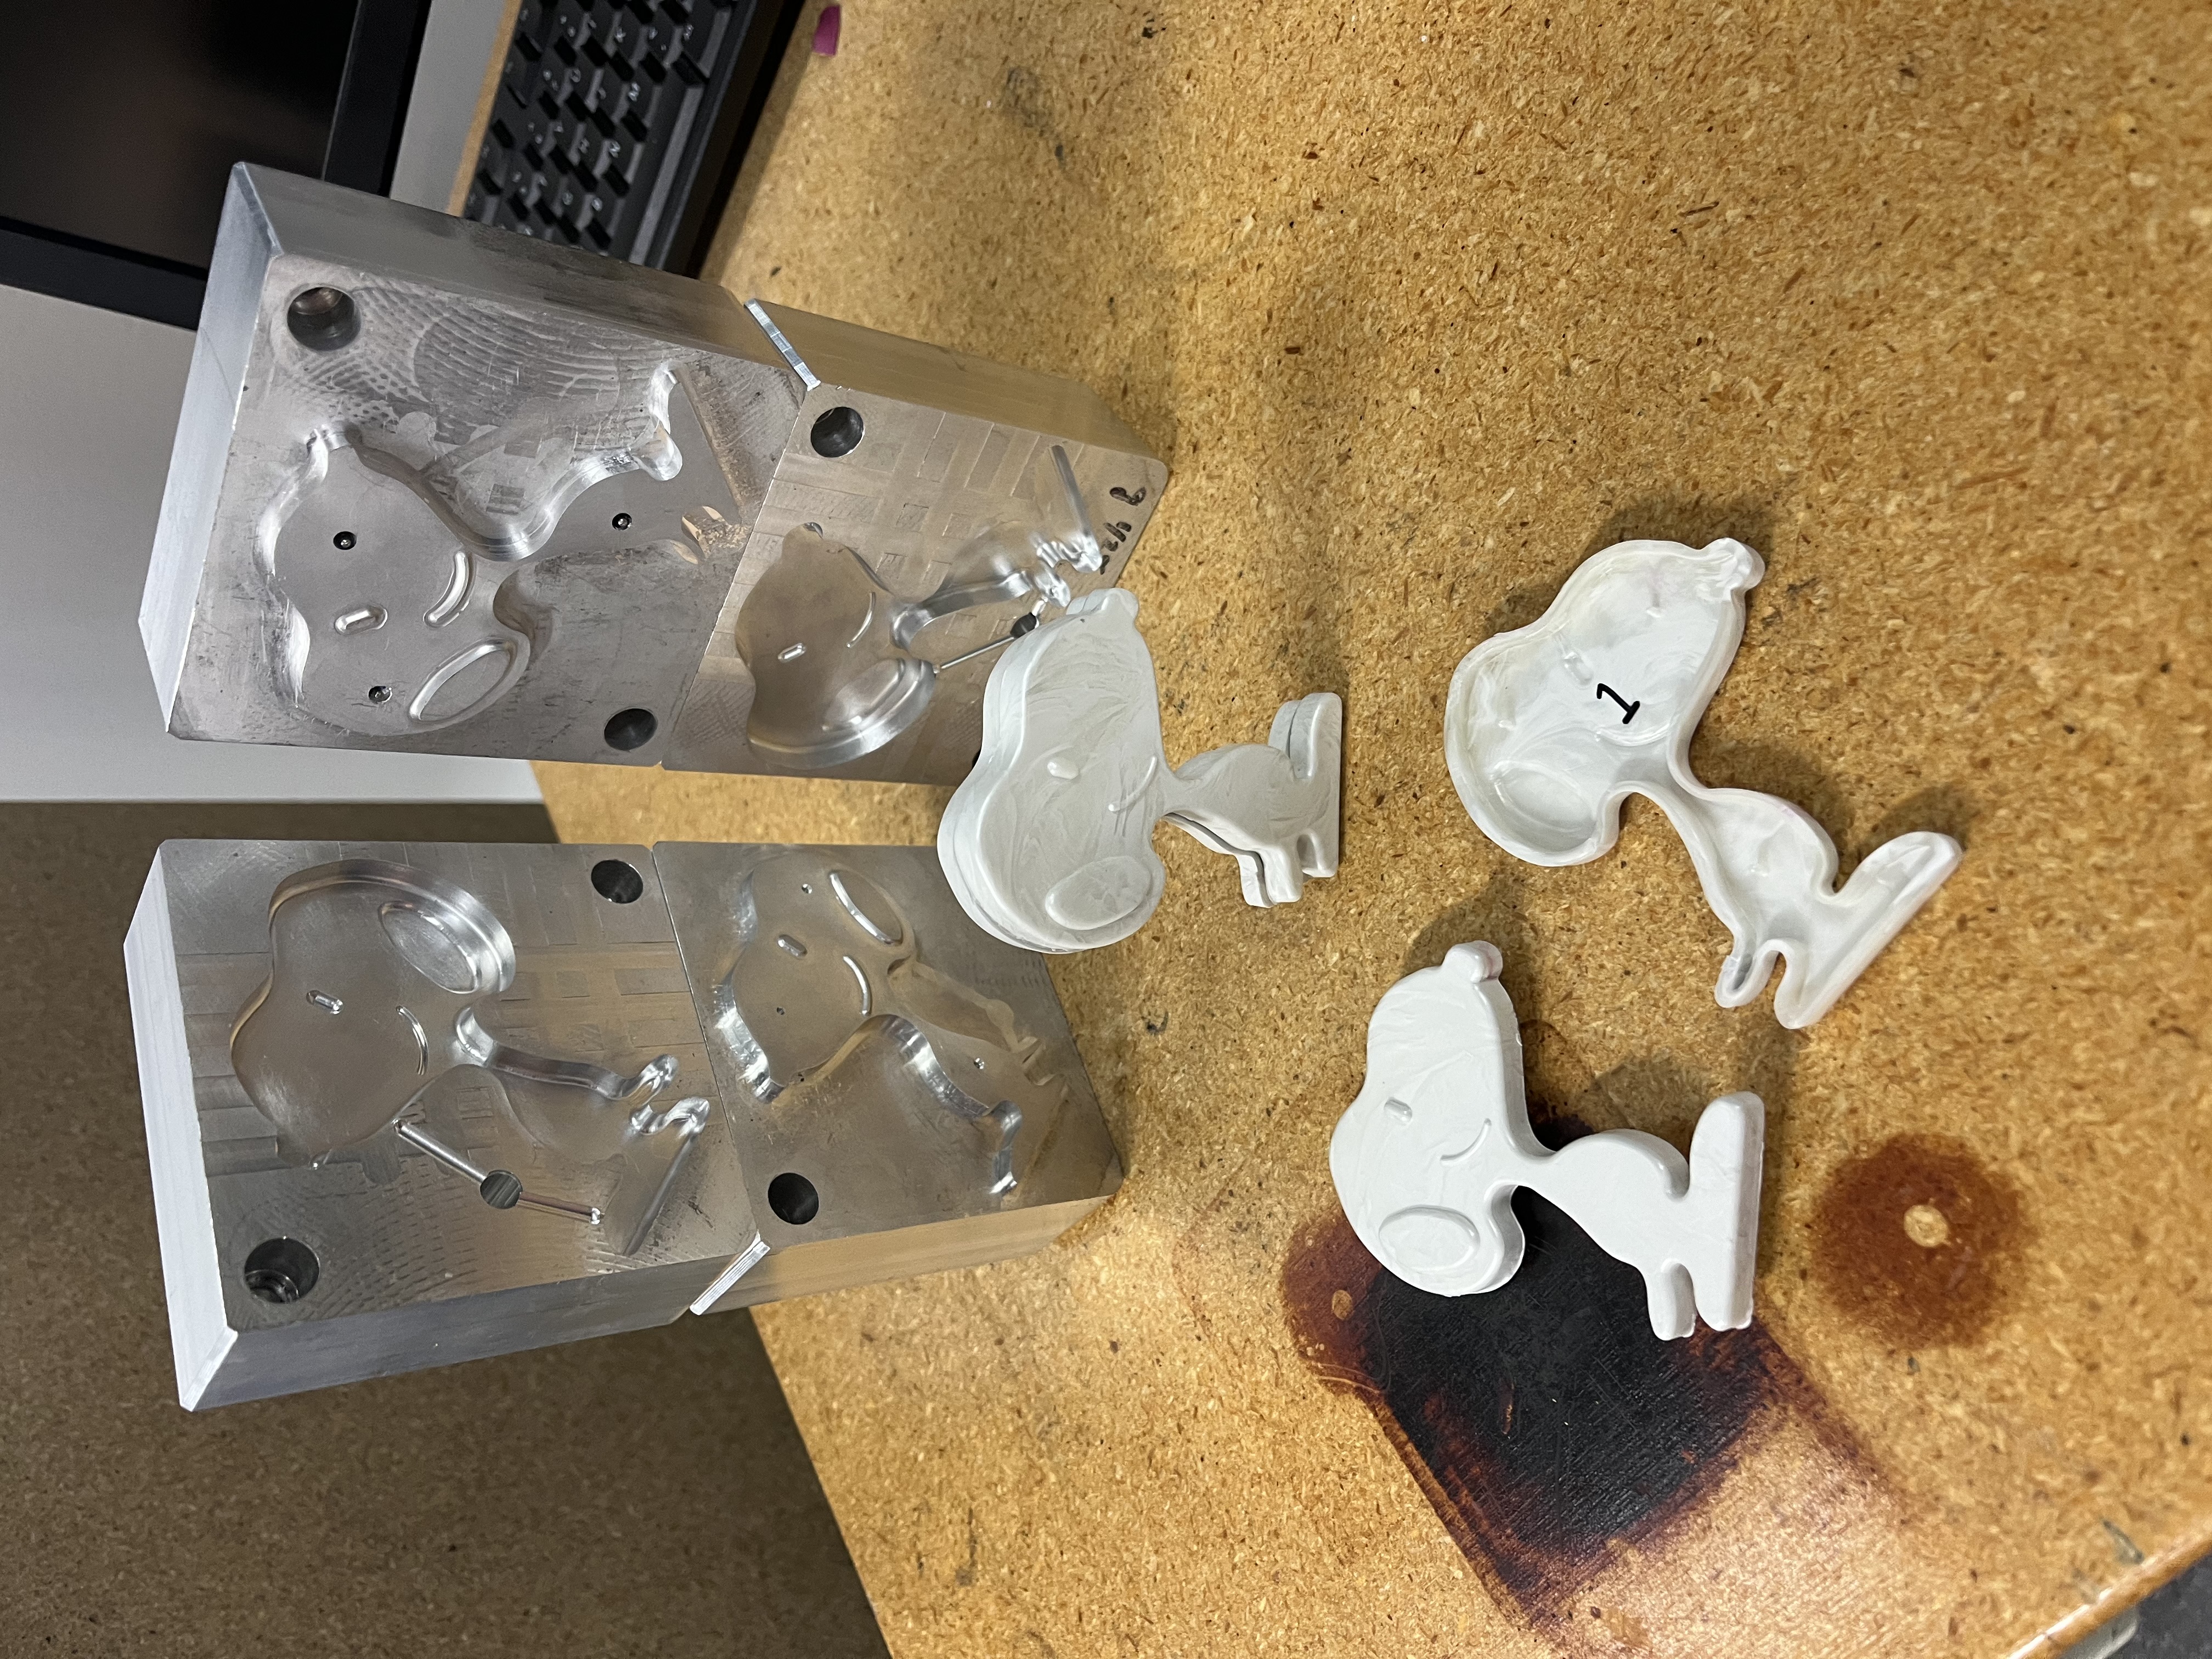
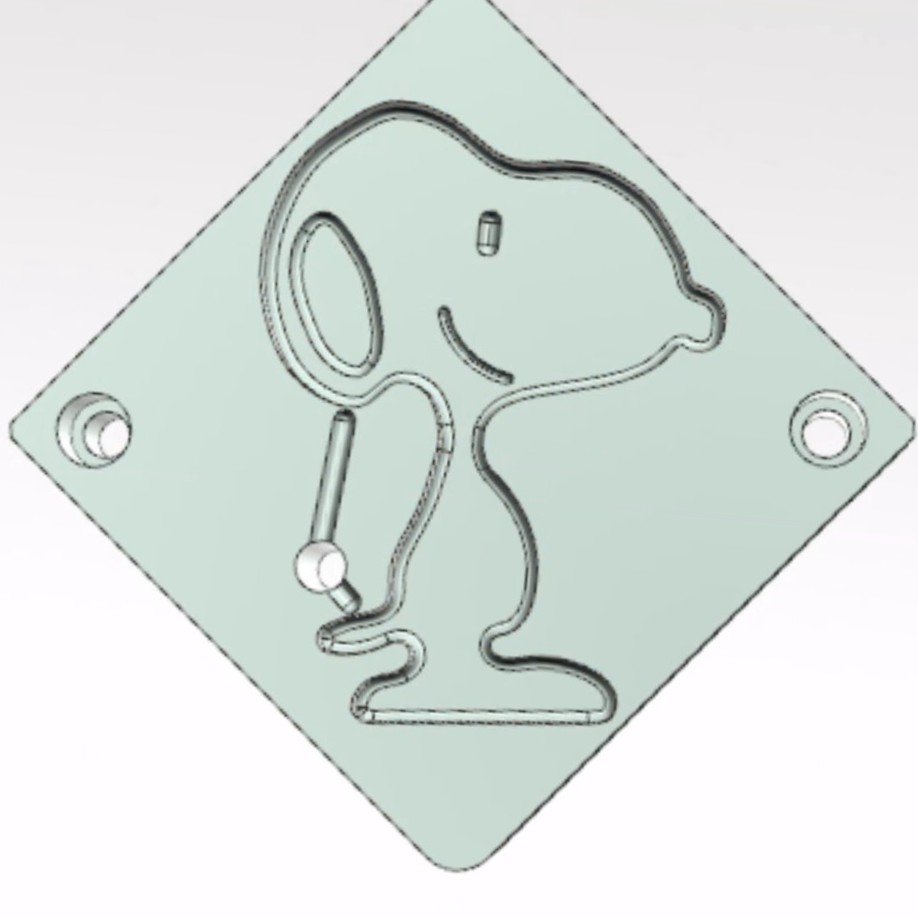
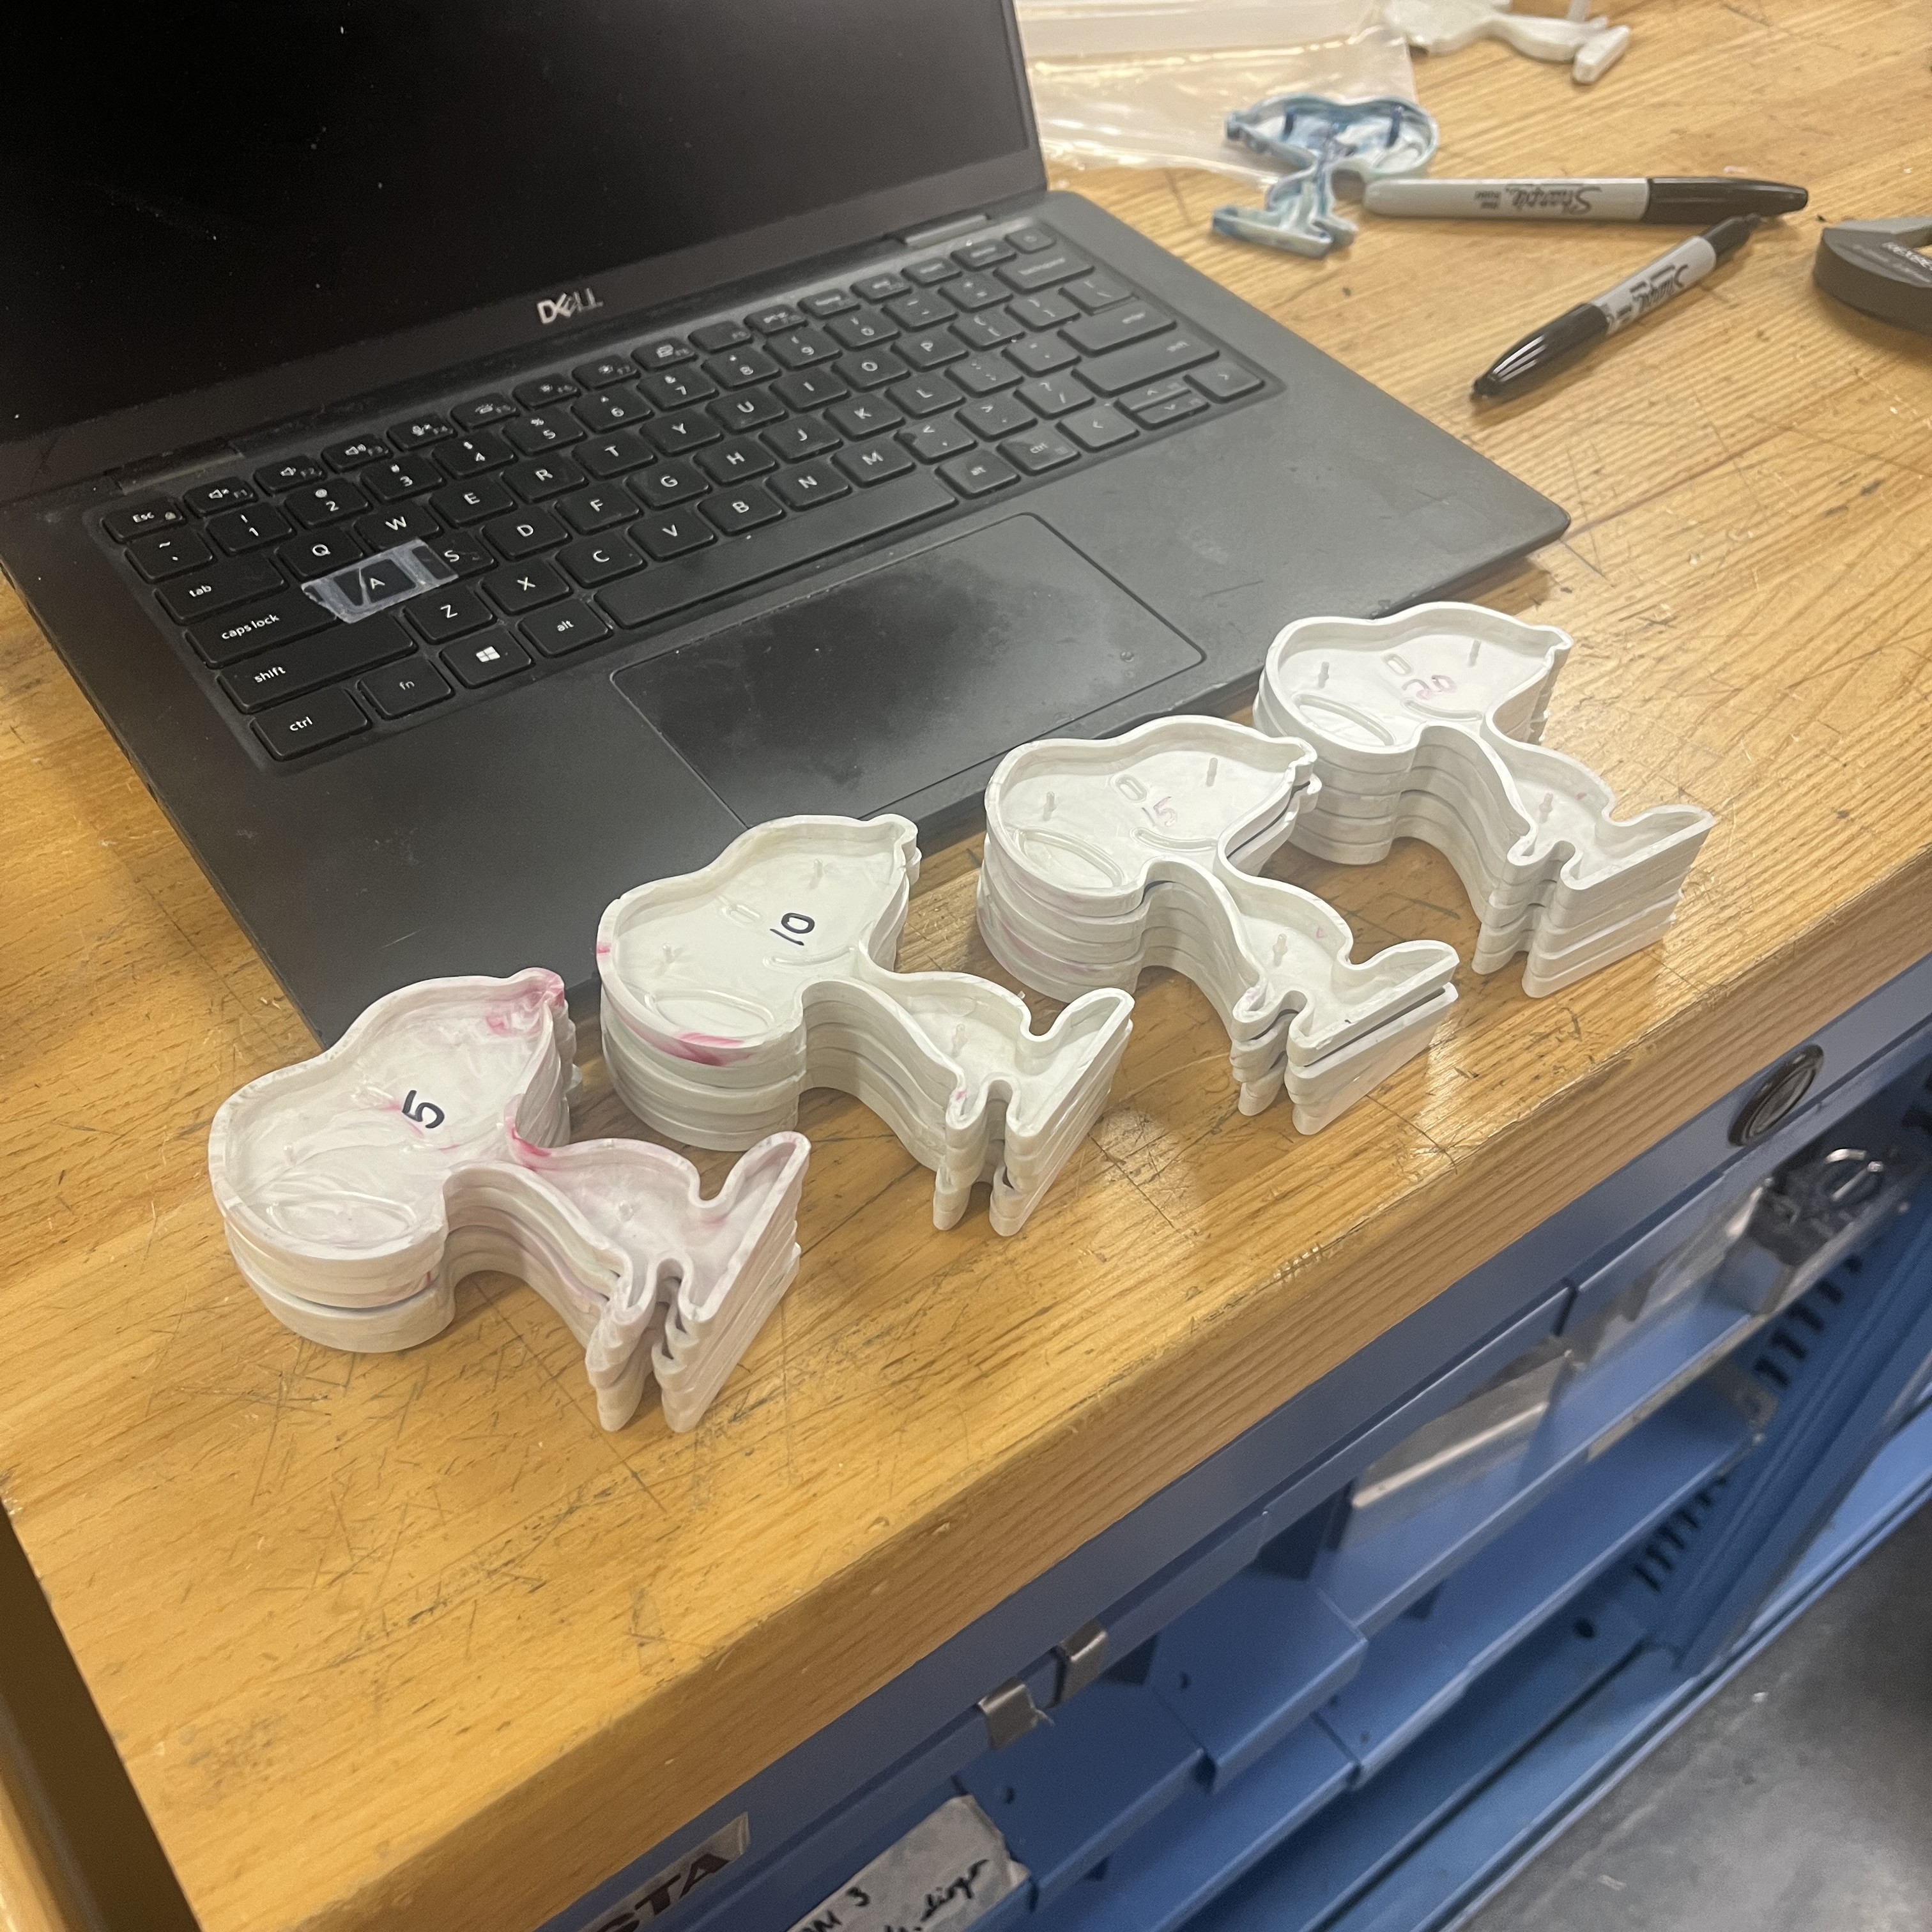
For an advanced manufacturing class, I worked on a team designed and produced an injection-molded Snoopy figure. The project involved CAD/CAM design, machining, and injection molding two thin-walled halves that assemble using pin and socket interference fits. I had to incorporate key manufacturing considerations to ensure the final product was not only aesthetically pleasing but also functional and durable. Siemens NX was used for the CAD design, ensuring precise dimensions and fit. The final product is a testament to my understanding of manufacturing processes and my attention to detail. Click here to see the full write-up of the project.

Snoopy Front
CAD: Using NX to design two cavities and two cores to create a snoopy assembly while keeping consistent wall thickness, draft angles, and connections in mind. The digital model was optimized for manufacturability, ensuring smooth ejection from the mold and minimal material waste.
Snoopy Side
Machining: Precision machining techniques were employed to create the intricate details of the Snoopy figure, ensuring a high-quality finish. I carefully designed our manufacturing process around the specific tools and equipment available in our workshop.
Snoopy Back
Final Product: I produced 20 full assemblies of the Snoopy figure using a Morgan-Press plastic injection molding machine. Injection and cooling times were optimized to ensure consistent quality across all units. Each figure was meticulously inspected for defects, ensuring that every Snoopy met a tolerance of ± 0.005”.